Introduction
There’s a lot that goes into setting up your Accounting software correctly, so let’s focus on what your initial goals should be during this introductory phase: add transactions and be prepared for day-to-day financial situations.
Do you want to jump into adding a transaction? Hold up, there’s a few things to do first. In order to add a transaction, you must enter your Beginning Balances. Before you enter your beginning balances, you need to set up your Chart of Accounts by adding your ledger funds and core accounts. Before you do that, you need to define your ledger settings. There are a lot of steps, but don’t worry–we’re here to guide you through each of these processes by helping you build out a plan.
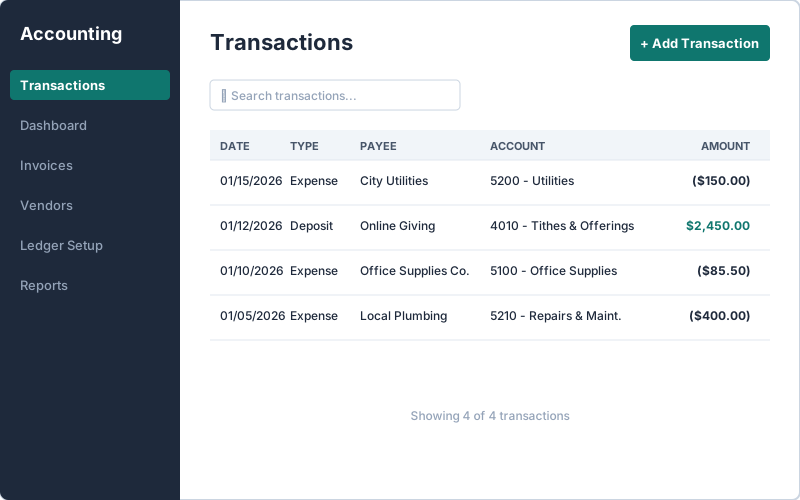
Soon, you'll be able to add a transaction.
Before you build that plan, you should know that Accounting is a specialized double-entry system designed to keep churches and denominational offices compliant with FASB and GAAP standards. By balancing debits and credits for every transaction, it provides a precise view of your ministry’s financial health. While expert-level knowledge isn't required, a basic grasp of double-entry fundamentals is essential for mastering the concepts in this course.
Course Objectives
By completing this course, you will be able to:
Recognize Basics
Establish an overview of fund accounting by reviewing basic accounting terminology.
Plan Accounting
Outline your Chart of Accounts by completing your Accounting Action Plan with your team.
Navigate Accounting
Navigate the Accounting interface to find exactly what you need, when you need it.
Define Rules
Set your global accounting settings, like fiscal year and accounting method.
Manage Access
Manage user access by assigning appropriate security roles based on staff responsibilities.
Working Towards Adding Transactions
Process Overview
To achieve our goal, it’s vital to make sure you know how the system will behave when you use it. This means you need to work through each step correctly the first time so you won’t have to reset your system and start from scratch.
The Accounting Action Plan will ask you to consider who your users are, your ledger settings, your accounting structure, and beginning balances.
Configure the basic rules for your fiscal year start and accounting basis (Cash vs Accrual).
Organize your data using Segments to tell the system who spent what.
When ready, enter your Beginning Balances into the new system.
Add vendors that you can attach to invoices and transactions.
Finally, add your first transaction.
How much do you know about nonprofit bookkeeping? We offer resources and managed services to help you get started.
Understanding Fund Accounting and Segments
Fund Accounting
As a nonprofit organization, churches and parishes use fund accounting to keep money separated into rigid compartments:
- The "Youth Group" money is in one compartment.
- The "Building Fund" money is in another.
- The "General Tithes" are in a third.
Fund Accounting
As a nonprofit organization, churches and parishes use fund accounting. With fund accounting, even though all the money might be in one checking account at the bank, legally and ethically, that money is separated into rigid compartments. For example:
Using the fund structure above, a pizza party for the youth group kids would be organized into the "Youth Group Fund", while money for building maintenance belongs in the "Building Fund".
Both accounts are "restricted". In other words, you cannot use restricted "Building Fund" money to pay for "Youth Group" expenses.
Cracking the Segments Code
So, how does Accounting keep these funds separated? It uses Segments.
Check out this account number: 01-5100-102. It isn't one big number; it is three small numbers working together.
Click each part of this number to learn more:
Ledger Funds (XX)
Ledger funds represent the overall organization. For example, your main campus may be 01 while your school may be 02.
While the system allows you to build out to five segments (Ledger Funds, Core Accounts, Department, Location, etc.), we have had many churches and organizations find success using two to three segments: either just a ledger fund and core accounts, or a ledger fund, core accounts, and department codes. Ultimately, your goal should be to make your segment strategy as simple as needed to accomplish your organization's goals.
You can change the length of your account segments at any time, but the length cannot be shorter than an existing item. For example, if your longest core account is four digits, you cannot change the core account lengths to anything less than four.
Once created, these additional account segments don't appear on reports, but they will attach to your transactions. For example, let's say you need to find out who spent money from the Food & Hospitality account. If you enter Administration into Code 101, Worship into Code 102, and Youth Ministry into Code 103, we can review that spending on a department level. Check this out:
- 01-6320-101 might focus on Food & Hospitality overall, but shows how much admins spent on coffee.
- On the other hand, 01-5320-102 shows what the worship team spent on donuts.
- Finally, 01-5320-103 will let you know how much the Youth Ministry spent on a pizza party.
Quiz Yourself
You need to find out exactly how much the Youth Ministry spent on a recent pizza party. When reviewing the transaction code 01-5320-103, which part of the code tells you who the transaction belongs to?
If you need help with understanding fund accounting, check out: Daily Bookkeeping: Fundamentals of Chart of Accounts.
Building a Chart of Accounts
You Need a Map
Alright, you have some segments planned out. But, where do those segments live? Within the Accounting software, your segments live in the Chart of Accounts (COA). The Chart of Accounts is an index of all the financial accounts available for use in an organization's general ledger. In other words, it is the master list of every "bucket" where money can be received (Income) or spent (Expenses).
Within the Chart of Accounts, you have three levels to keep your books organized. These are organized by Heading, Sub-Heading, and then Account. Click each to learn more.
Below is an interactive screenshot of the Accounting Chart of Accounts page. Click on the hot spots to learn more about each important item.
| Account # | Account Name & Structure | Level Type | Actions |
|---|---|---|---|
| 1000s | Assets ! | Heading | ••• |
| — | ↳ Current Assets ! | Sub-Heading | ••• |
| 1010 | General Checking ! | Core Account | ••• |
Build Your COA Using What You Have
With this core understanding of the chart of accounts, it's time to plan what yours will look like. We recommend you build and number your chart of accounts in a spreadsheet before entering it into the system to avoid the frustration of re-numbering inside the software.
If you are unsure of what your chart of accounts should look like, use what you already have! Whether you have an excel spreadsheet, a budget, current reports (like a balance sheet, income statement, or budget versus actuals), or just giving funds, you can still use these to build your Chart of Accounts!
Consider this:
Understanding the Chart of Accounts
Assets - The 1000s
Assets are the physical places you keep value. Identify your liquid assets like Checking, Savings, and Petty Cash, as well as fixed assets like buildings, land, or church vans.
Where to find: Use your monthly bank statements, balance sheet, and any existing depreciation schedules or property titles.
Number Assets in the 1000s.
Checking, Savings, Land & Equipment
What work do you need to do to gather your existing bookkeeping resources so you can build out your chart of accounts?
Test Your Knowledge
Download a Cheat Sheet
How are you holding up? There was a lot of information to absorb here, so it might be hard to remember until you get more practice. Download this resource to help you recall the basics of Accounting and Fund Accounting.

What Do You Remember?
Are you ready to see how well you know accounting basics? Use the provided cheat sheet and test your knowledge in the drag and drop activity below.
Your goal in the activity below is to accurately place categories into the correct drop zone. You have two ways to complete this activity:
- Drag the correct term from the Key Terms section and Drop it into its corresponding Drop Zone below next to its definition.
- Or, click a term and then click a drop zone to place the drop item.
If you placed an item in the wrong spot, simply drag it back to the Key Terms zone, or drop a new item on top to replace it. When finished, click the "Submit" button to check your answers. Any incorrect responses will be highlighted in red for you to try again.
Now Go And...
You can breathe a little easier now. Accounting isn't a scary monster; it's a specialized tool—a well-equipped framework waiting for its ministry context. You understand the foundational structure of the system.
However, a foundation is only the beginning. We still have some work to do before we can enter a transaction. The essential framework for organizing your unique ministry finances is not yet in place.
In the next course, Initial Setup, we are going to build that framework. This is the crucial work of defining your "Chart of Accounts". It’s time to establish exactly how the "Youth Fund" donations are tracked and where the "Electric Bill" payments are recorded.
Keep Learning
There is always more to learn! Check out these courses to continue your journey.
Accounting: Initial Setup
Getting started with a new accounting system can be daunting, but with proper planning, it doesn't have to be. In this course, we'll look at the decisions you'll need to make when starting a new accounting system. Let's get started.
Payroll: Initial Setup
This course will guide you through the most efficient methods to set up company details, tax details, tax accounts, time-off policies, and more. Ready to use your payroll system to the fullest? Let's get started.
Daily Bookkeeping
What is bookkeeping, why does it matter for your church, and how can you effectively organize daily offerings and donations? Get ready to discover how to keep your church's books safely, ethically, and legally. Let's get started.